- Home
- Raccoon Trapping
- How to Skin a Raccoon
How To Skin A Raccoon
This post may contain affiliate links so I earn a commission.
Learning how to skin a raccoon is not a difficult task.
With a few simple tools and a little patience anyone can learn how to skin, flesh, stretch and dry a raccoon pelt.
One of the biggest mistakes made during the fur harvesting process occurs during the skinning or fleshing of the furbearer.
Why is this stage so important?
Improperly skinning the animal can decrease its value or even worse, make it worth nothing at all.
Proper fur handling is an important step that everyone should understand.
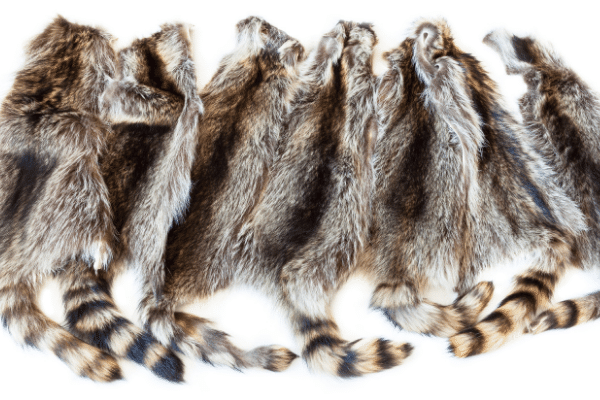
Not only will you feel a sense of pride or satisfaction from a job well done, you'll also get a better price from the fur buyer for all your hard work.
There are two basic ways to skin a furbearer......open and cased.
"Open" describes a method used to skin beaver or badger where a cut is made down the belly and the pelt is tacked out flat.
"Cased" is the most common method of skinning a furbearer.
Muskrats, mink, coyotes, fox, raccoons and many other animals are skinned this way.
Cased furs are processed by cutting a slit in the animals hide from one hind foot pad to the other.
A small slit is made in the tail and the tailbone is removed leaving the tail fur attached to the pelt.
Then, the pelt is removed from the animal in a process that's similar to taking off your shirt or socks.
Once the hide is removed it's then fleshed, stretched and allowed to dry.
How To Skin A Raccoon
Although it's pretty easy to remove the skin from a raccoon, they contain a lot of fat which sometimes makes the fleshing process a little time consuming and messy.
Before you begin, I recommend wearing a pair of latex surgical gloves during the entire process.
The rubber or latex gloves not only keep your hands clean, but they also protect you from various diseases that raccoons have been known to carry.
I've also found using a thin bladed skinning knife or pocket knife, like a Buck or Old Timer knife, with a sharp blade works the best.
How To Skin A Raccoon Step-By-Step Process
To begin cut around the front and rear ankles where the fur meets the top of the foot.
Next, starting at the hind foot pad, on the inside of the foot just above the heal, cut straight across the body just above the vent or anus.
Cut all the way across in a straight line to the opposite foot pad.
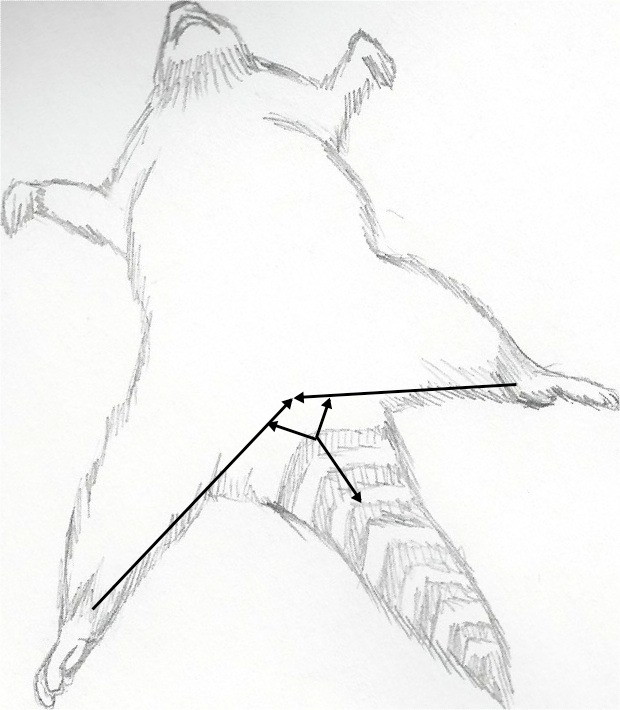
In a "V" shape cut around the vent on both sides and then cut about a 3-4 inch slit along the underside of the tail.
Using your knife and hand pressure, remove the skin from around the legs far enough so you can attach a skinning gambrel or other similar device around its rear legs so the raccoon can be hung upside down.
Using your knife to remove any connective tissue, work the hide off the legs, around the cuts near the vent and around the cut on the tailbone.
Expose a couple inches of the tailbone and remove the tailbone using a tail stripper.
For best results use a push/pull motion with your hands and the tail stripper.
At this point you can pretty much grab the hide and pull it down like a sock, using your knife to cut away any connective tissue that gets in the way.
When you reach the front arms, work the hide around the elbow and stick your fingers between elbow/armpit area until you can pull the hide down off the front wrists.
Do this on both front legs.
While pulling down on the fur, remove the fur from around the head until you reach the ears.
Cut off the ears leaving them attached to your "cased" skin.
Using the ear holes for leverage, continue to pull the pelt down and cut around the eyes, lips and finally cut the pelt off at the nose.
That's it!
The skinning process is now done and you're ready to flesh.
How To Skin A Raccoon - Flesh Removal
Place the cased raccoon skin over your fleshing beam, flesh side out.
Using a small clamp to clamp the nose area will keep the pelt from slipping over the end of the fleshing beam.
Position the pelt evenly on the beam and begin to slowly remove the flesh and fat with the sharp part of your fleshing knife.
Start at the base of the ears and slowly work your way down the pelt using a slight slicing motion with your knife.
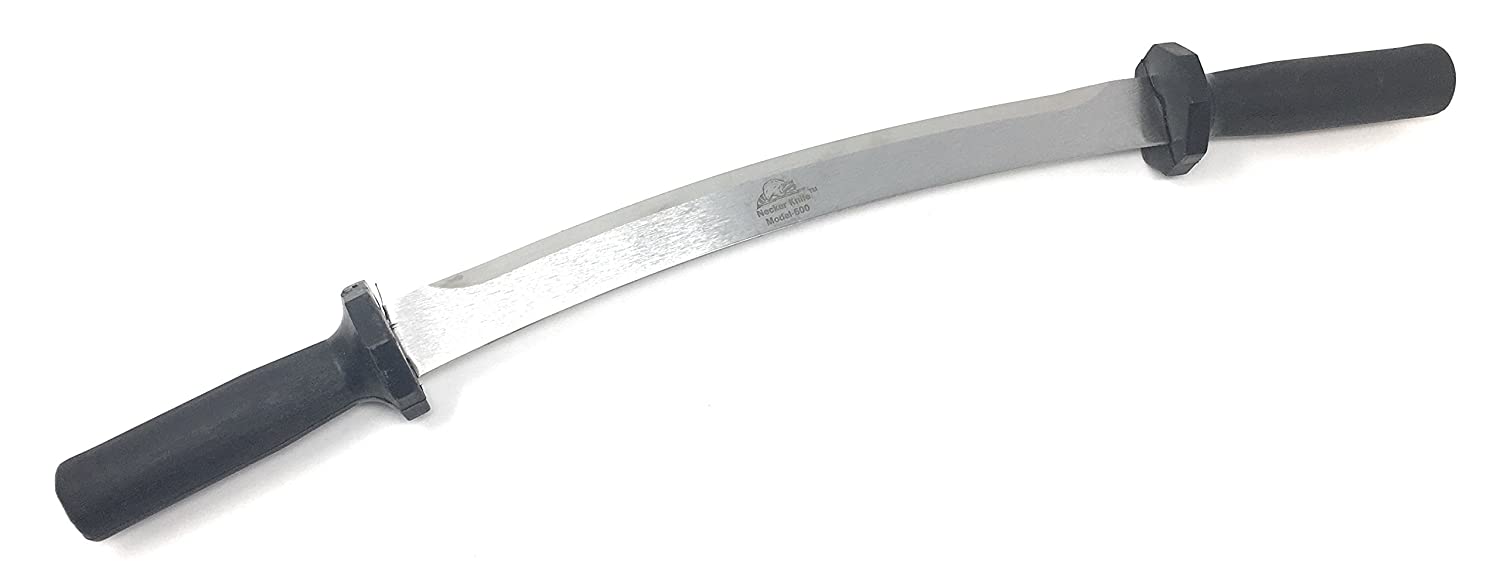
Once the fat starts coming off you can turn your knife over to the dull edge and push away from your body, removing the fat from the hide.
Flesh about half way down the pelt and then rotate the pelt on the fleshing beam.
Continue fleshing the pelt until all flesh and muscle has been removed.
Once the hide has been fleshed the final step is to stretch and dry the fur over either a board or wire stretcher.
Overall - How To Skin A Raccoon
Learning how to skin a raccoon the proper way will ensure the you get the maximum amount of money when you take your furs to a buyer.
Take your time, do a good clean job, and your hard work will be rewarded.

