- Home
- Trapping Mice
- Homemade Mouse Trap
Homemade Mouse Trap
This post may contain affiliate links so I earn a commission.
Building a homemade mouse trap is an easy way to get rid of mice using common supplies found around your home.
The trap works great, it's easy to construct, and it's easily converted from a kill trap to a humane live trap where you can relocate the mouse outside if you want.
Lets face it, no one wants a mouse running around their house, garage or apartment.
Although they may look small and harmless, house mice can cause considerable damage and carry deadly diseases.
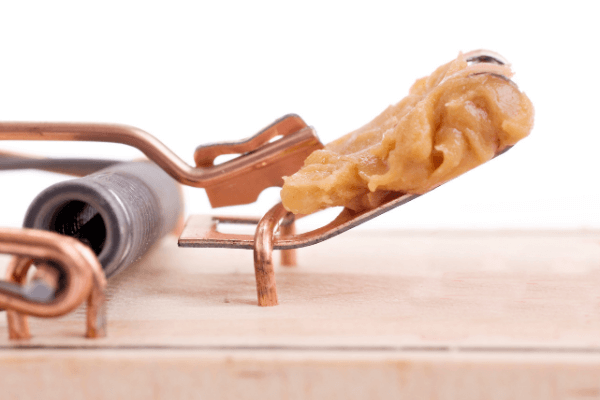
Mice feed on stored food items, pet food, grain and other items contaminating the food with urine, mice droppings and hair.
Mice can also cause structural damage to a building by gnawing on electrical wires, insulation and other building materials.
Have you ever removed and item from your basement that was stored for safe keeping only to find it was chewed up by mice?
Many of us have lost family heirlooms or other important items due to their constant chewing.
To keep mouse damage under control, trapping the mice is a great option.
Plus, depending on your intentions, the bucket trap design can be modified into either a kill trap or a humane live trap so you can release the mouse if you want.
Homemade Mouse Trap Plans
To make the homemade mouse trap you'll need the following supplies:
- One 5 gallon bucket (slightly smaller or larger will also work)
- Metal rod, wooden dowel or clothes hanger
- Tin can or pop can
- Peanut butter
- A scrap piece of wood
- A drill and drill bit

To begin, drill 2 holes into the 5 gallon bucket.
The holes should be near the top of the bucket on opposite sides of each other.
The holes should be roughly the same diameter of the metal rod you are using.
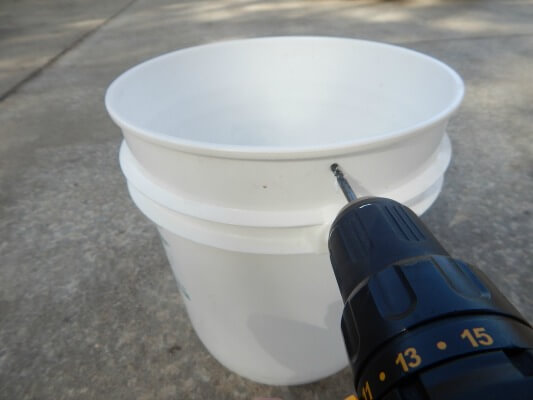
Next, using the same drill bit, drill a hole into each end of the tin can or pop can you're using.
Make sure the hole is big enough to allow the can to twist or roll on the metal rod.
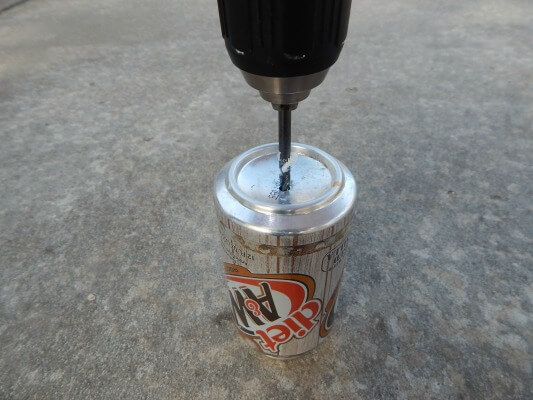
Here's the other side.
I don't like to use the opening of the can for the hole because it's not centered and the can won't roll as easy.
Remove the tab on the can and drill a hole where the tab was.
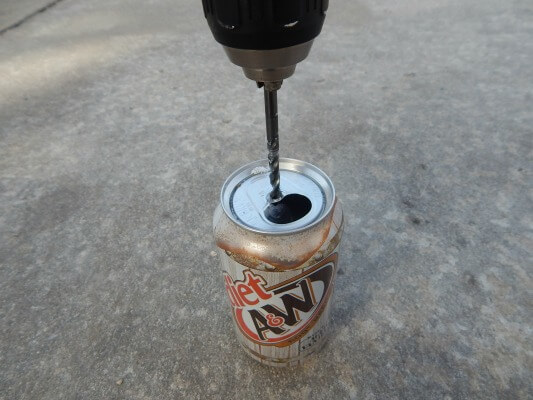
Now, thread the metal rod through the bucket and the pop can so it looks like the picture below.
In this example I just cut a metal coat hanger apart and it works perfectly.
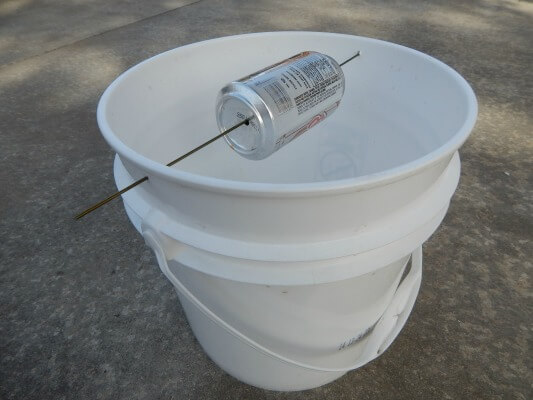
Spread a thin layer of peanut butter around the pop can.
I like to spread the peanut butter around the entire pop can forming a ring of bait around the whole can.
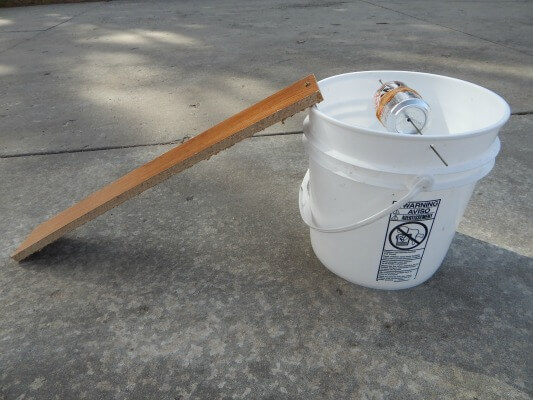
Finally, take a scrap piece of wood (a thin piece of molding or trim works great) and make a ramp leading up to the top of the bucket.
Place the wood perpendicular to the metal rod as shown in the picture.
The mouse will use the wood to reach the top of the bucket and jump onto the pop can to reach the peanut butter bait.
The momentum of the jumping mouse will cause the can to twist or rotate on the metal rod causing the mouse to fall into the bottom of the bucket.
If the wooden ramp wants to slide off the bucket, take a screw and screw it into the end of the wood.
The screw will rest inside the bucket and keep the wooden ramp in place.
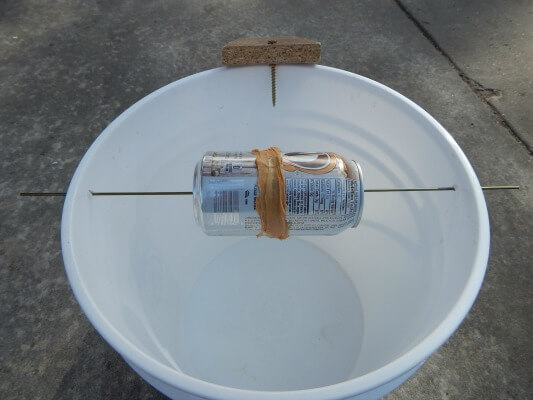
Lethal Vs. Non-Lethal Options
If you want to kill the mice, add about 3 inches of water into the bottom of the bucket.
Or, if you're going to use the trap in a cottage where it will be left for a while in cold conditions, use antifreeze instead of water.
The antifreeze does two things.
First, it won't freeze in cold conditions.
Second, it prevents the mice from stinking.
It doesn't take long for a mouse soaking in water to smell bad.
Keep in mind that antifreeze is very toxic and has a sweet taste.
Don't use antifreeze if pets or children are around.
If you don't want to kill the mouse, don't put any liquid into the bottom of the bucket.
The short fall will not injure the mouse and you can release the mouse outside.
Overall - Homemade Mouse Trap
A homemade mouse trap using a bucket is a great way to trap a lot of mice in a short period of time.
The trap will catch multiple mice without needing to be reset like other conventional traps, plus the trap is cheap, easy to make and it works great!

